01
Genuine Ford decorative panels
Original Ford panels provide a precise fit and a finish that belongs in your interior.


Bring your dashboard and all four doors together with five genuine Ford decorative trims and seamlessly integrated ambient lighting. An OEM+ look by day. A whole new atmosphere after dark.
Built to order using genuine Ford parts. Allow up to 3 weeks, depending on parts availability; most orders are completed sooner.
From €775,00 EUR
Tell us a few details about your Ford.
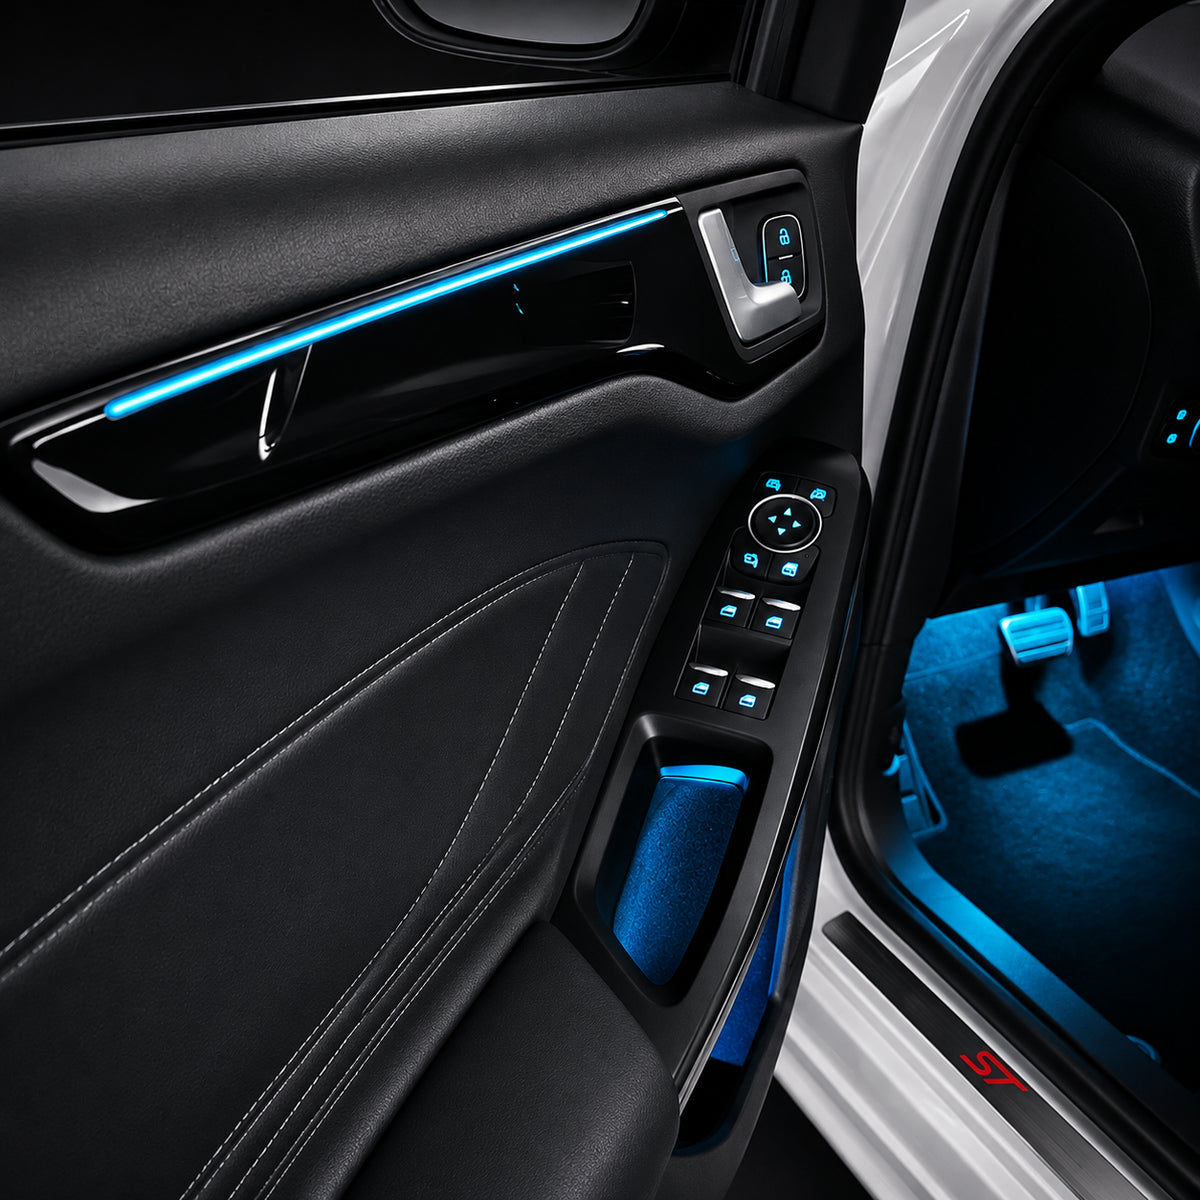
Factory style by day. Coordinated ambient lighting after dark.
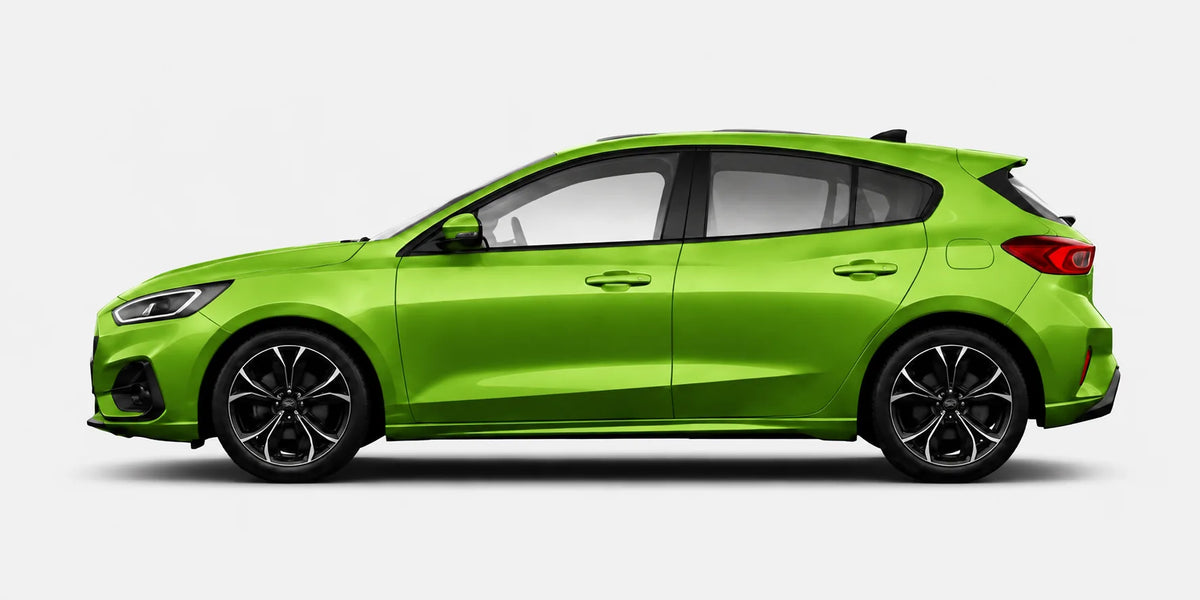
Not compatible with MK4.5 or factory Ice Blue systems.
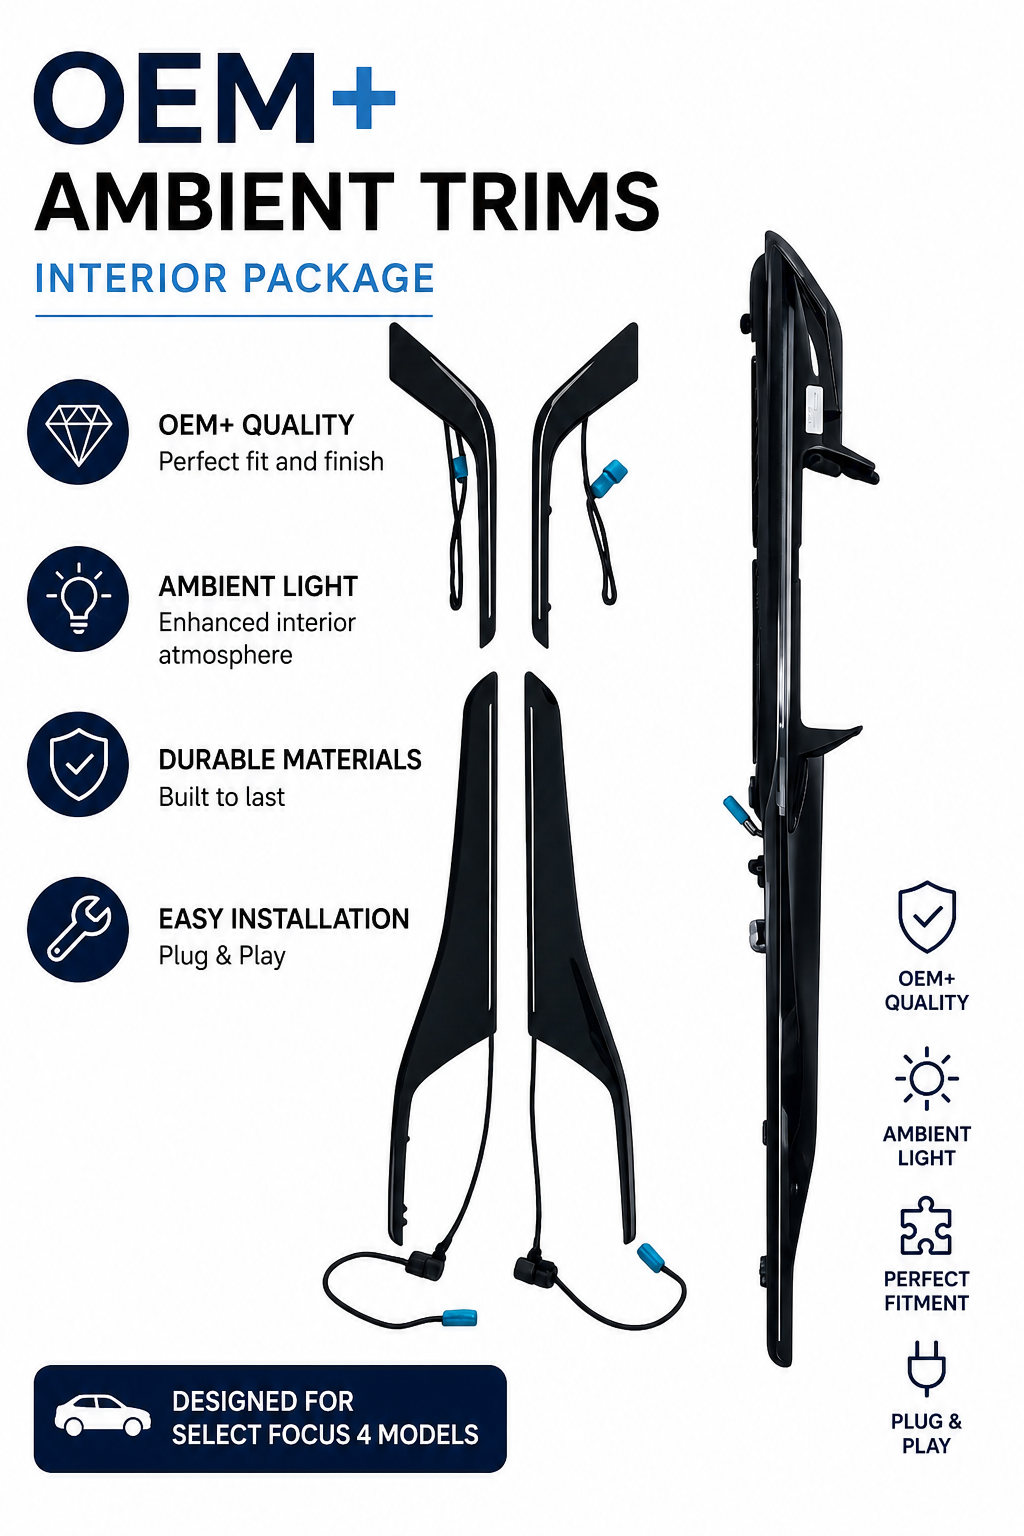
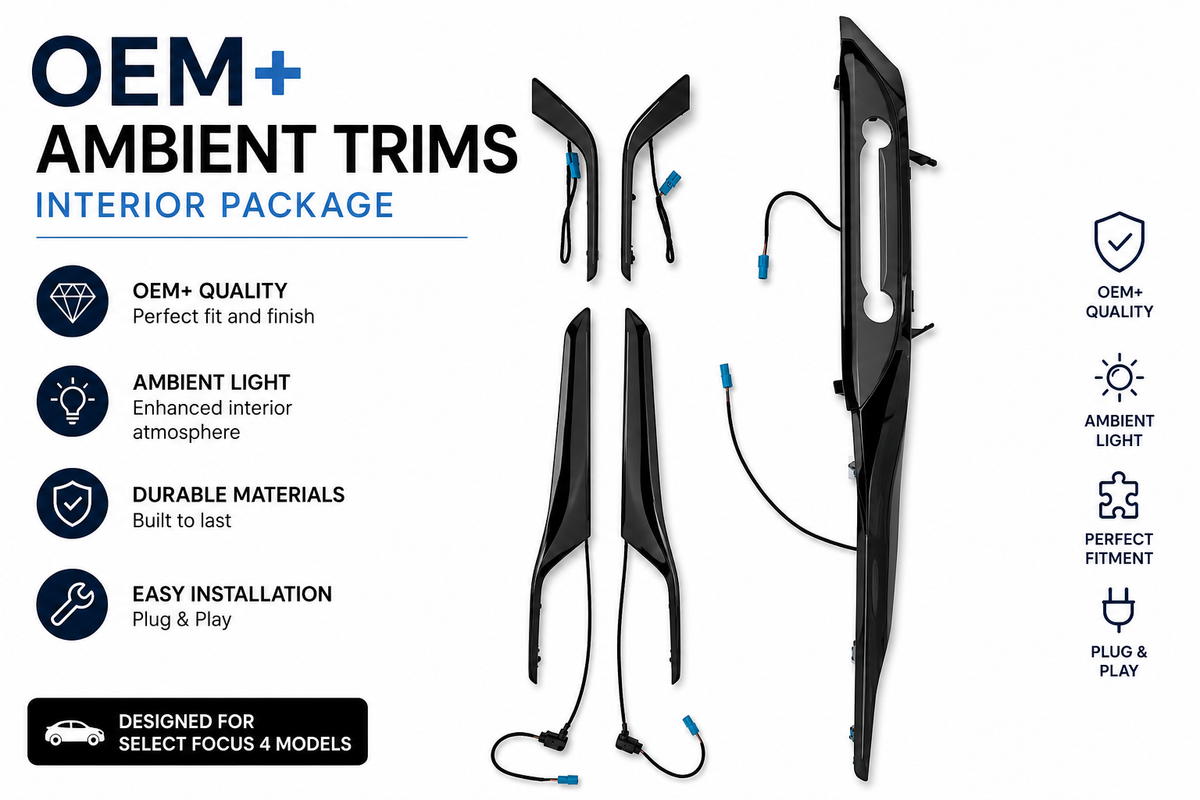
All five genuine Ford trims come with preinstalled ambient lighting.
Door-handle lights and footwell lamps are not included.
Choose your setup and answer the door questions to see the matching installation steps.
Remove the original dashboard trim
Carefully release the original trim using the removal tools.
Connect the dedicated harness
Connect the supplied 4-pin Plug & Play adapter at the hazard-switch illumination connector below the screen.
Route and connect the lighting
Route the harness behind the dashboard trim and connect the integrated lighting. Secure the cable before refitting.
Test and refit
Check the Ice Blue lighting before clipping the replacement trim into place.
Use the supplied washers to protect the lighting cable. Tighten the shared trim/handle screws gently by hand; do not use power tools on the plastic threads.
Remove the door panel.
Carefully remove the interior door panel to access the decorative trim, door handle and wiring.
Disconnect the handle lighting.
Unplug the original power connector supplying the illuminated door handle.
Remove the original trim and handle.
Undo their shared mounting screws and remove both components.
Install the new ambient trim.
Position the illuminated Ford trim together with the original handle and secure both using the original screws.
Important: Do not overtighten the screws. The mounting threads in the decorative trim are plastic and may be damaged.
Connect the Y-split harness.
Connect the dedicated 2-wire Plug & Play Y-splitter to the original handle illumination supply, powering both the handle and the new trim.
Repeat on the opposite door.
Follow the same procedure with the second dedicated harness.
Before refitting each door card, test the lighting, secure the wiring so it cannot rattle and reconnect any plugs removed during installation.
Remove the original dashboard trim
Carefully release the original trim using the removal tools.
Connect the dedicated harness
Connect the supplied 4-pin Plug & Play adapter at the hazard-switch illumination connector below the screen.
Route and connect the lighting
Route the harness behind the dashboard trim and connect the integrated lighting. Secure the cable before refitting.
Test and refit
Check the Ice Blue lighting before clipping the replacement trim into place.
Use the supplied washers to protect the lighting cable. Tighten the shared trim/handle screws gently by hand; do not use power tools on the plastic threads.
Remove the door panels.
Remove the interior door panels to access the original decorative trims and handles.
Remove the original trims and handles.
Undo the shared mounting screws and remove the original decorative trims together with the door handles.
Install the new ambient trims.
Position the illuminated Ford trims together with the original handles and secure them using the original screws.
Important: Do not overtighten the screws. The decorative trim has plastic mounting threads.
Connect the passenger-side harness.
Connect the new decorative trim to the illumination circuit of the front passenger window control switch.
Connect the driver-side harness.
Connect the driver's decorative trim to the illumination circuit of the central locking button located in the driver's door handle.
Before refitting each door card, test the lighting, secure the wiring so it cannot rattle and reconnect any plugs removed during installation.
Remove the original dashboard trim
Carefully release the original trim using the removal tools.
Connect the dedicated harness
Connect the supplied 4-pin Plug & Play adapter at the hazard-switch illumination connector below the screen.
Route and connect the lighting
Route the harness behind the dashboard trim and connect the integrated lighting. Secure the cable before refitting.
Test and refit
Check the Ice Blue lighting before clipping the replacement trim into place.
Use the supplied washers to protect the lighting cable. Tighten the shared trim/handle screws gently by hand; do not use power tools on the plastic threads.
Remove the door panels.
Remove the interior door panels to access the decorative trims, handles and wiring.
Replace the original trims.
Undo the shared mounting screws, remove the original trims and handles, then install the new illuminated Ford trims together with the original handles.
Important: Do not overtighten the screws. The mounting threads in the decorative trim are plastic.
Connect the passenger-side harness.
Connect the passenger's ambient trim to the illumination circuit of the front passenger window control switch.
Connect harness 3A to the DDM.
Insert the two pre-fitted terminals of harness 3A into the designated illumination-power positions in the original driver door module connector.
DDM Plug & Play connection: Unlike a conventional plug connection, harness 3A uses two pre-fitted terminals inserted into the original DDM connector. No cutting, soldering or coding is required. Follow the dedicated installation video to identify the correct connector positions.
Connect harness 3B.
Join the door-panel harness 3B to harness 3A using their detachable connector. Harness 3B supplies the new ambient trim through its dedicated connector.
Finish the installation.
Check the connections and lighting, then reinstall the door panels.
Before refitting each door card, test the lighting, secure the wiring so it cannot rattle and reconnect any plugs removed during installation.
Remove the original dashboard trim
Carefully release the original trim using the removal tools.
Connect the dedicated harness
Connect the supplied Plug & Play splitter at the passenger front footwell lamp, keeping the lamp connected.
Route and connect the lighting
Route the additional lead behind the trim and connect the dashboard lighting. Secure the cable before refitting.
Test and refit
Check the lighting and factory SYNC color changes before clipping the trim into place.
Use the supplied washers to protect the lighting cable. Tighten the shared trim/handle screws gently by hand; do not use power tools on the plastic threads.
Remove the door panel.
Carefully remove the interior door panel to access the decorative trim, door handle and wiring.
Disconnect the handle lighting.
Unplug the original power connector supplying the illuminated door handle.
Remove the original trim and handle.
Undo their shared mounting screws and remove both components.
Install the new ambient trim.
Position the illuminated Ford trim together with the original handle and secure both using the original screws.
Important: Do not overtighten the screws. The mounting threads in the decorative trim are plastic and may be damaged.
Connect the Y-split harness.
Connect the dedicated 3-wire Multicolor Plug & Play Y-splitter to the original handle illumination supply, powering both the handle and the new trim.
Repeat on the opposite door.
Follow the same procedure with the second dedicated harness.
Before refitting each door card, test the lighting, secure the wiring so it cannot rattle and reconnect any plugs removed during installation.
Tell us whether your rear door handles are illuminated.
Remove the door panel
Remove the rear door card and disconnect the handle lighting.
Replace the decorative trim
Undo the screws shared by the handle and trim. Fit the illuminated trim and reinstall the handle.
Caution: Fit the washers to protect the lighting cable inside the trim. Tighten the screws gently by hand — no power tools. Overtightening can strip the plastic threads or break the mounting points.
Connect the short harness
Connect the supplied Y-splitter to the existing handle lighting, powering both the handle and new trim.
Test and refit
Secure the wiring, check the lighting and refit the door panel.
Remove the door panel
Remove the rear door card to access the trim and wiring.
Replace the decorative trim
Undo the screws shared by the handle and trim. Fit the illuminated trim and reinstall the handle.
Caution: Fit the washers to protect the lighting cable inside the trim. Tighten the screws gently by hand — no power tools. Overtightening can strip the plastic threads or break the mounting points.
Connect at the window switch
Connect the supplied harness to the rear window-switch illumination. The same method applies to both rear doors.
Test and refit
Secure the wiring to prevent movement or rattles, check the lighting and refit the door panel.
Replace the decorative trim
Remove the rear door card, undo the shared handle/trim screws and fit the illuminated trim.
Caution: Fit the washers to protect the lighting cable inside the trim. Tighten the screws gently by hand — no power tools. Overtightening can strip the plastic threads or break the mounting points.
Access the wiring route
Disconnect and remove the speaker using its three screws. Move the front seat fully forward, move the seat belt clear and remove the B-pillar cover.
Route the cable into the cabin
Release the rubber door-to-body connector. Use a nylon pull-through to guide the cable through its unused channel. Pass the door-side lead through the additional rubber wiring grommet to the door-panel side.
Connect at the front footwell
Route the cable beneath the sill trim to the front footwell lamp on the same side. Fit the supplied Plug & Play Y-splitter, keeping the lamp connected.
Secure and test
Secure the cable along its route, connect the rear trim and check the lighting before reassembly.
Refit the removed parts
Reseat the rubber connectors and grommets, reconnect and refit the speaker, then reinstall the B-pillar cover, sill trim and rear door panel.
Message us on WhatsApp or email — we usually reply within 24 hours.
Genuine Ford trim. Dedicated wiring. Factory lighting integration.
Original Ford panels provide a precise fit and a finish that belongs in your interior.
Purpose-built wiring and matching connectors provide a straightforward connection to your car’s original installation.
The Ice Blue version matches the shade of your existing factory ambient lighting.
The Multicolor version follows the factory SYNC settings, controlled alongside the other ambient lighting in your Focus.
Real FlickOn upgrades installed in customer cars.
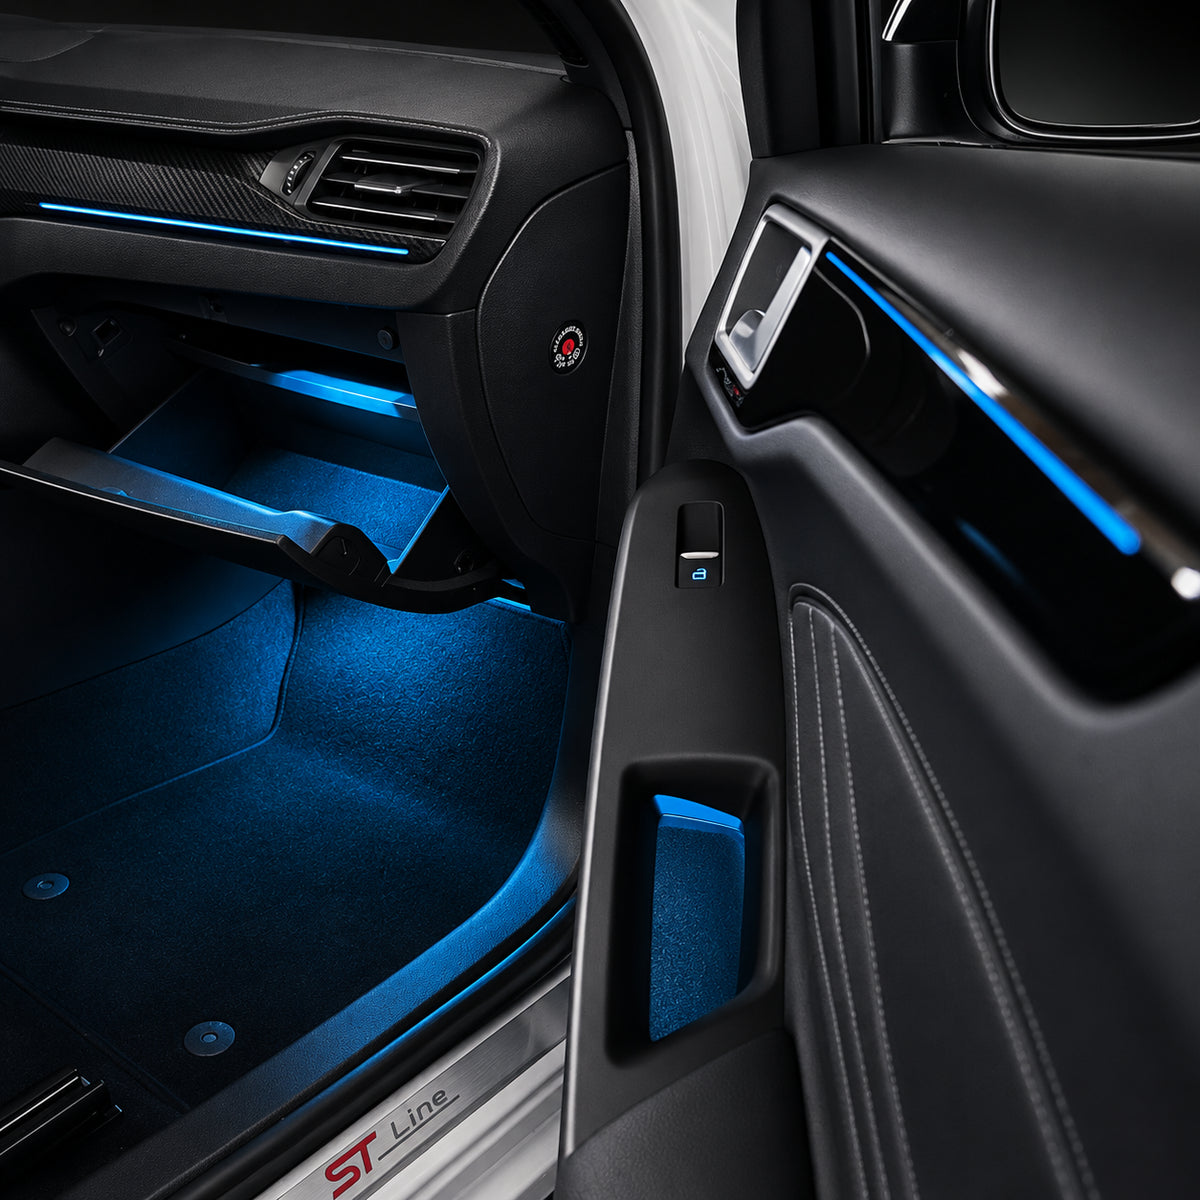
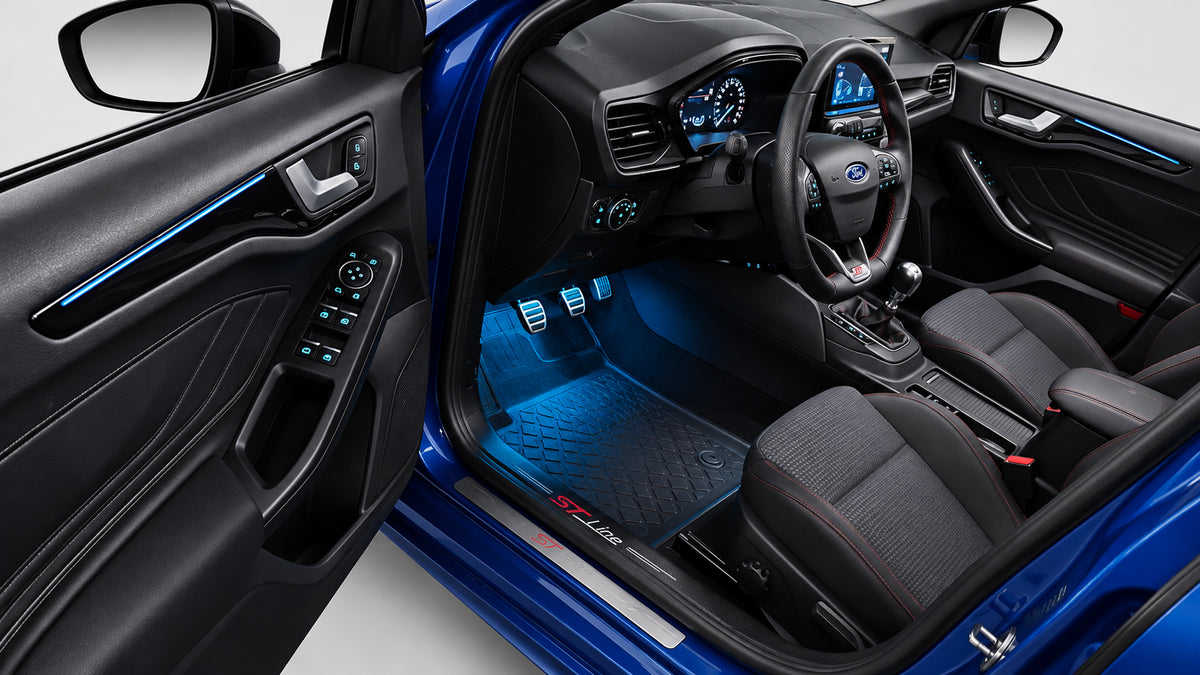
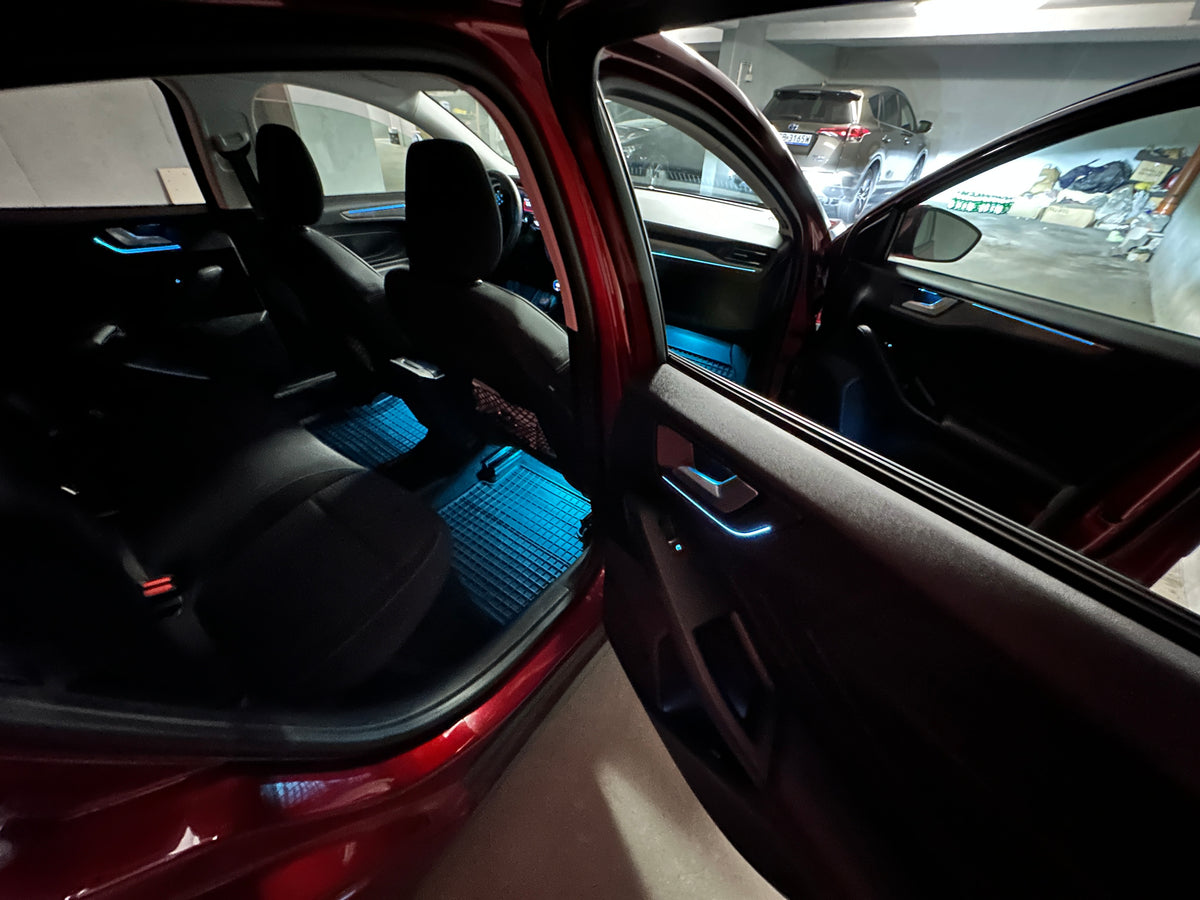
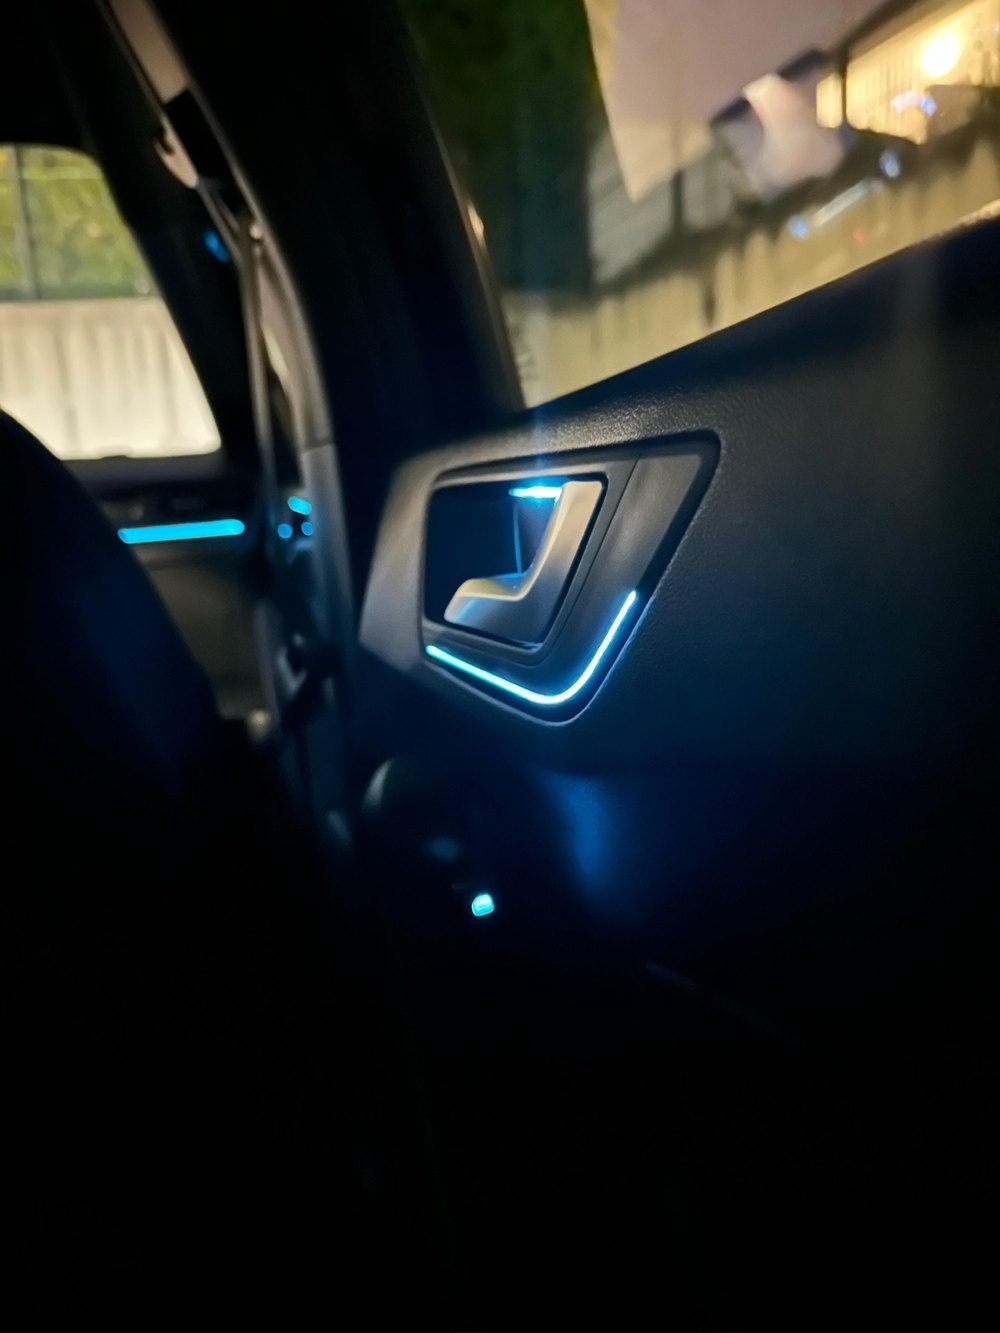
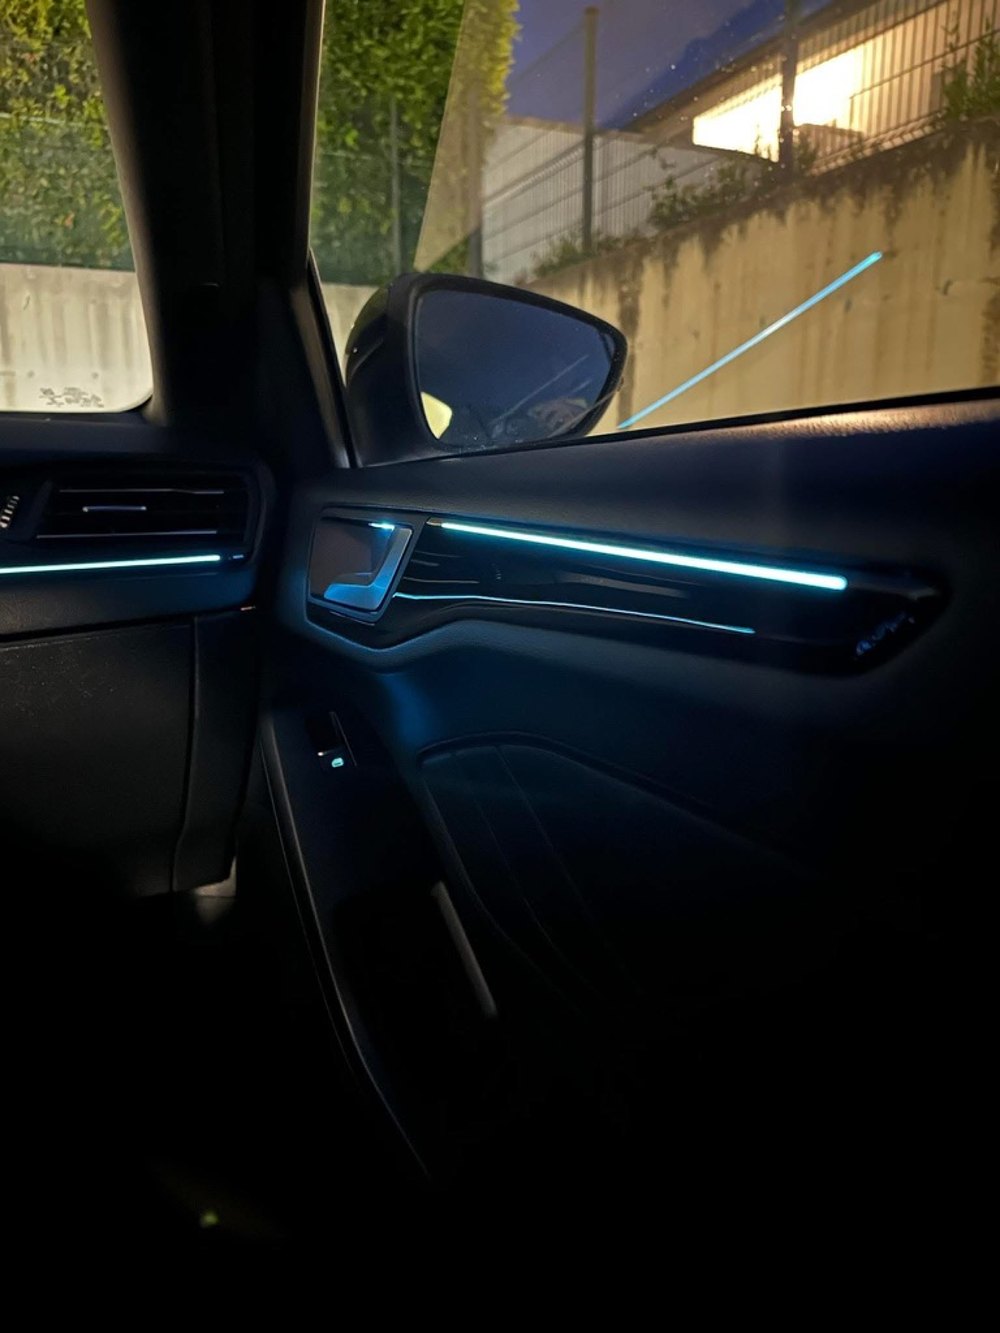
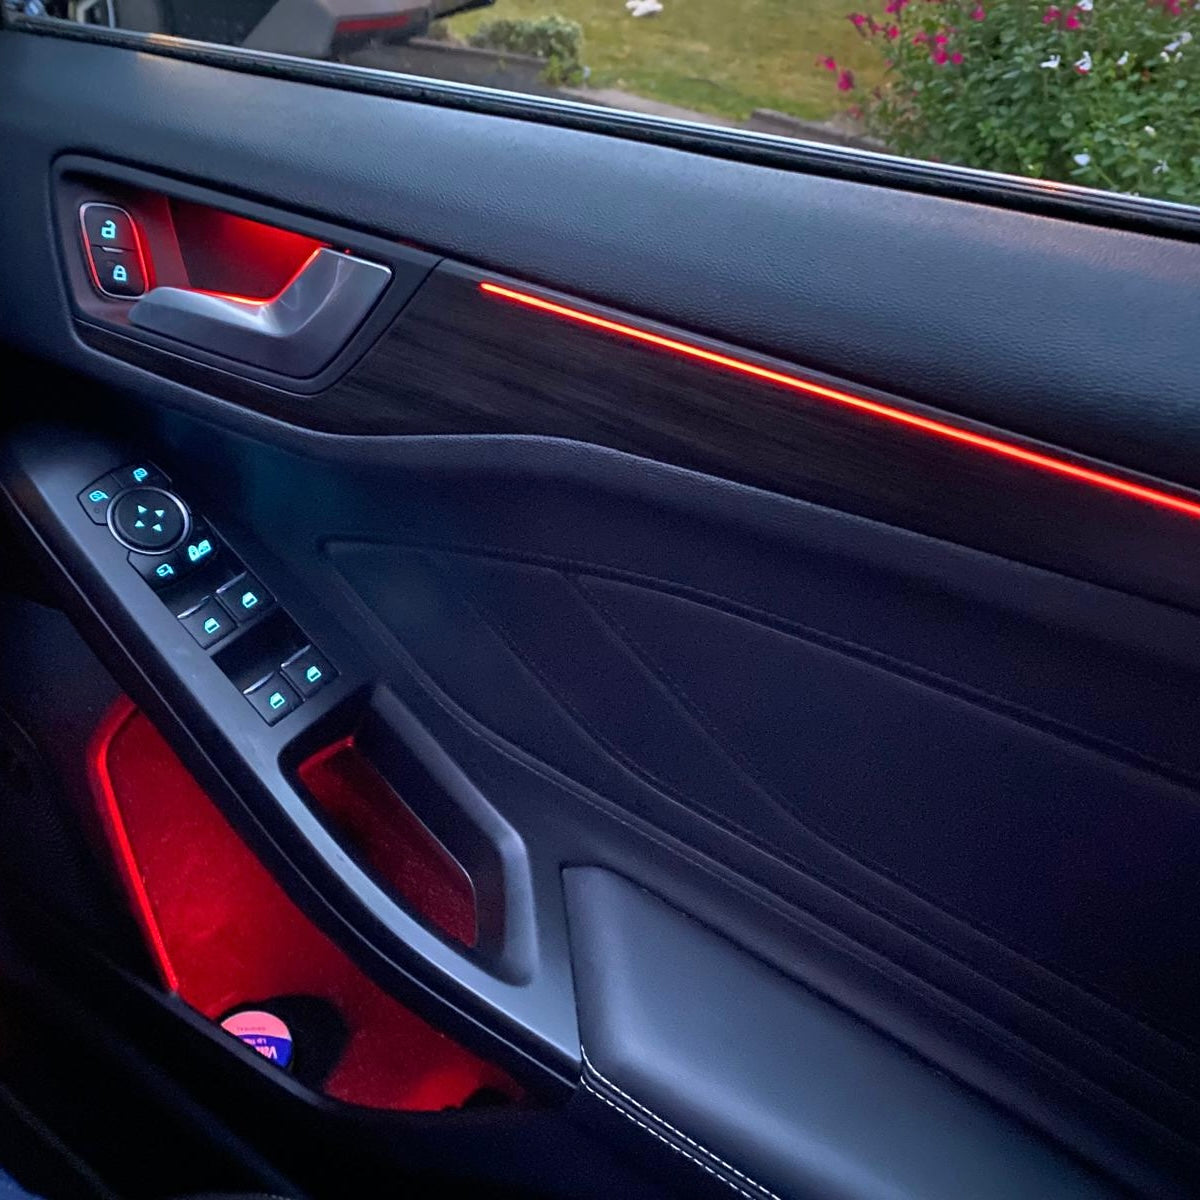
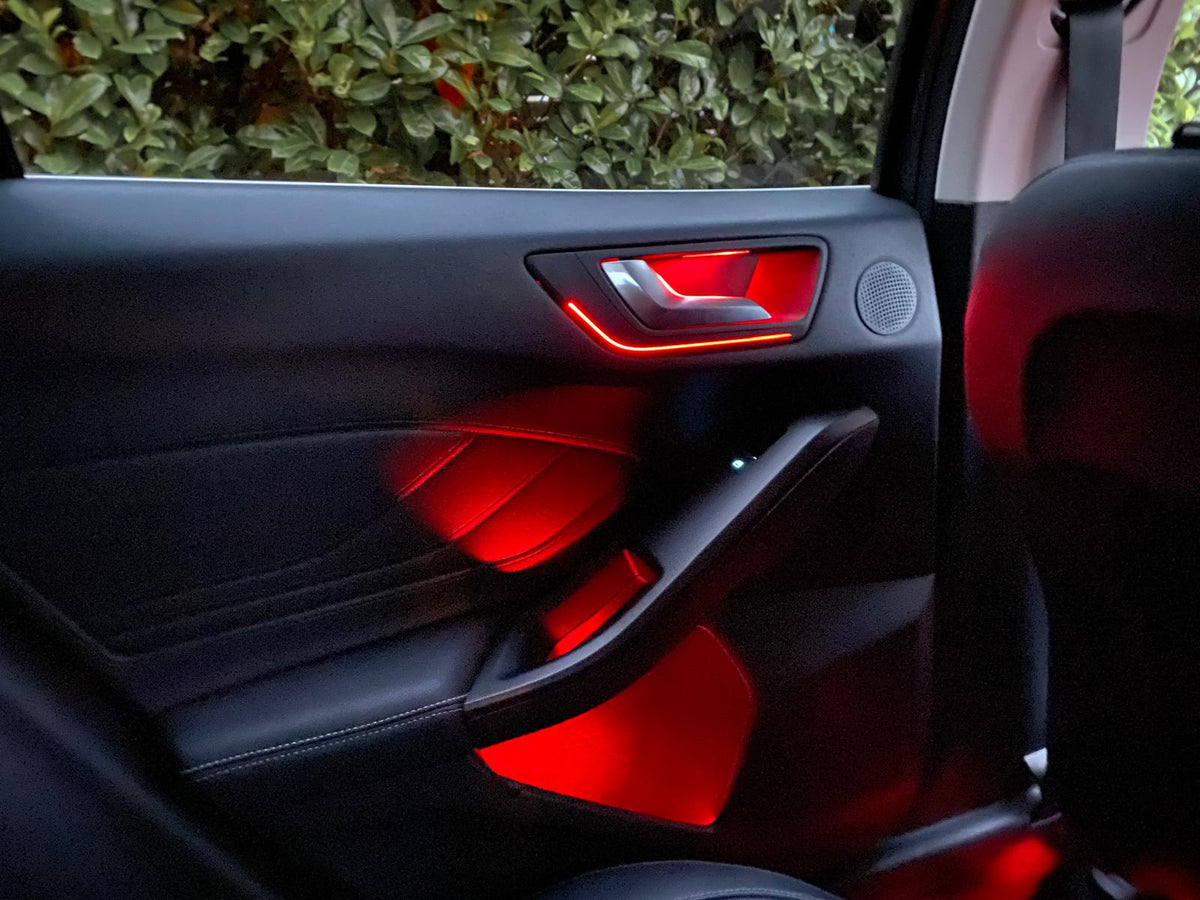
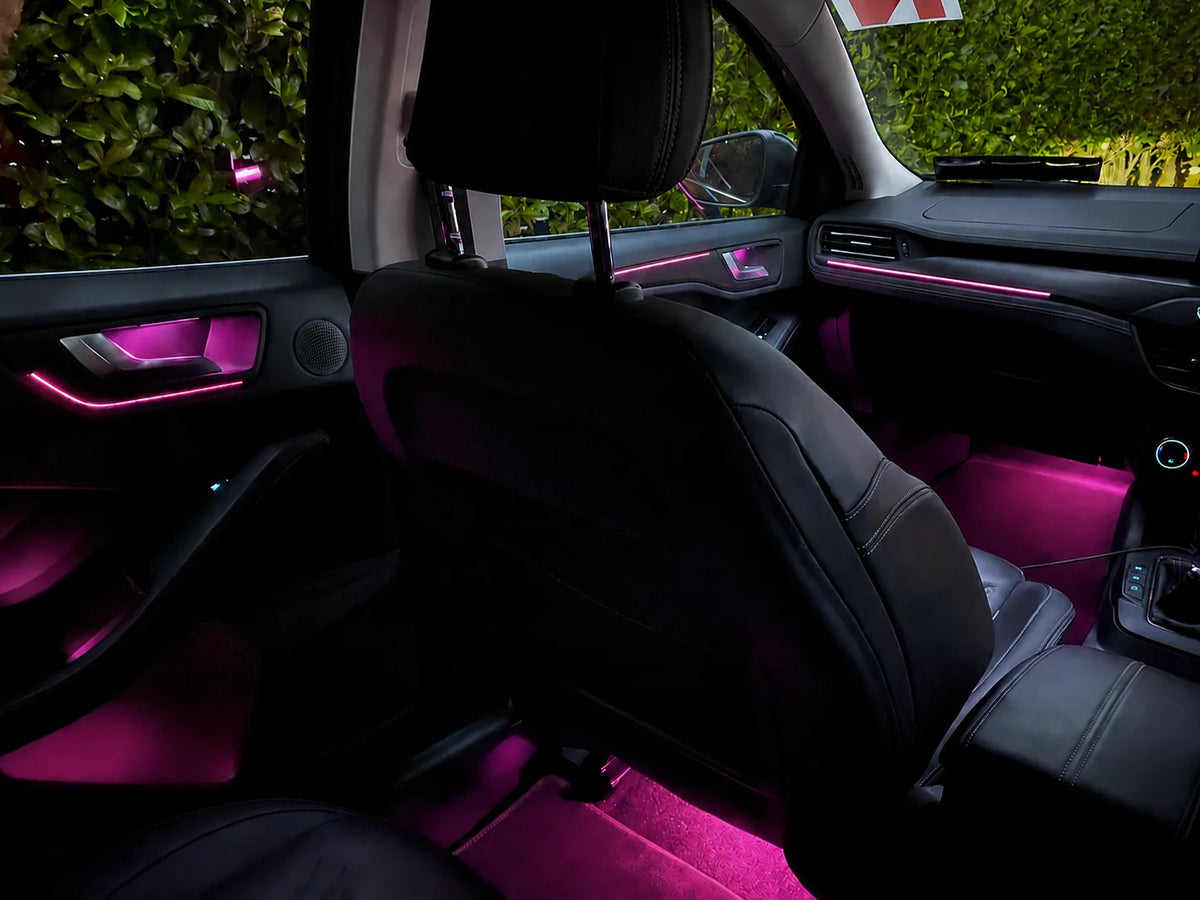
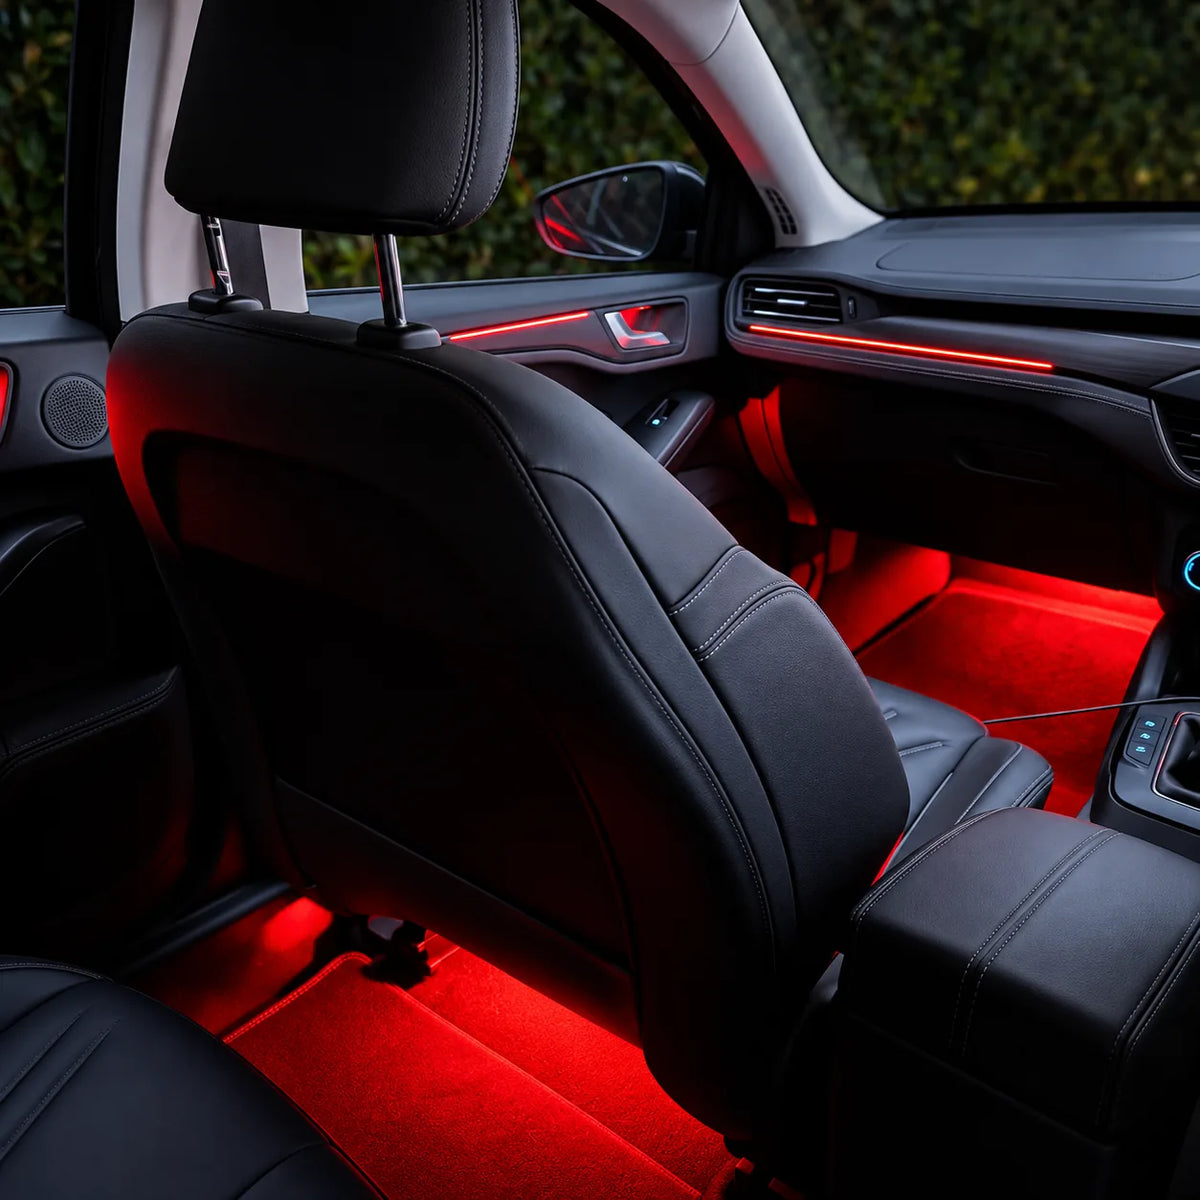
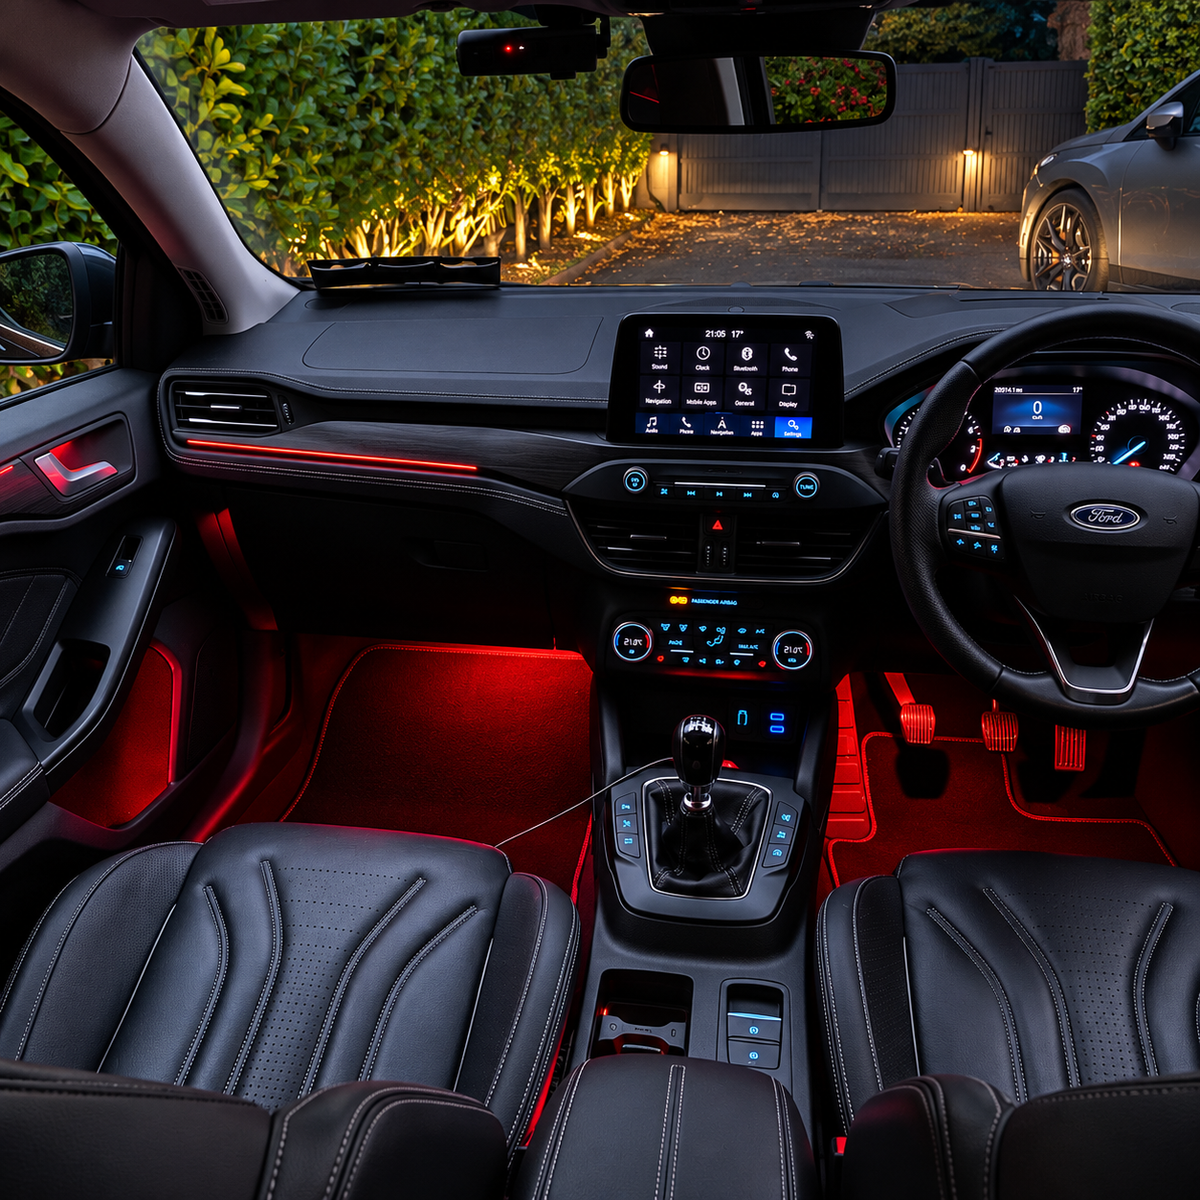
Feedback from FlickOn customers across our lighting range.
“Perfect — a simple kit that is easy to install. It results in a clean, organized setup with professional-grade wiring.”
Domenico Ferrara · Italy 🇮🇹
“The quality is excellent. The lights are bright, the color looks amazing, and they really enhance the car’s interior. I’m very happy with this purchase and would definitely recommend it!”
Diogo Medeiros · Portugal 🇵🇹
“Very high-quality lighting and cables. I ordered the upgrade module for the front footwell and the retrofit kit for the rear. I am very satisfied 👍 I received very quick assistance with my questions.”
Riccardo Arminio · Germany 🇩🇪
“Great kit; installation was really easy thanks to the videos. It took me about an hour to do it on my own. It looks great, and I’m happy with the result. Highly recommended!”
Toni · Germany 🇩🇪
“I highly recommend it! I bought a footwell set (front + rear) - everything is plug & play and the lights adjust along with the rest of the lighting. The set includes all the tools needed for assembly. I recommend it to anyone who is still hesitant!”
TRK · Poland 🇵🇱
“Everything is great; I installed and connected it in 10 minutes, and it was done. It looks fantastic.”
Francis Schronen · Germany 🇩🇪
“I bought some kits and I was very happy, they are very well made and give a magical and classy touch to the car.... also a very serious company and very available for assistance.... highly recommended.... see you next time ++++++”
Chris yeah · UK 🇬🇧
One genuine Ford dashboard trim, two front door trims and two rear door trims, all with preinstalled ambient lighting, plus wiring matched to your selections and trim removal tools.
No. Multicolor requires a Focus MK4 with the factory Multicolor system and SYNC color selection. Choose Ice Blue for a car with factory Ice Blue lighting.
Generation selects the dashboard shape. Front and rear handle answers independently select the wiring. Without illuminated rear handles, Ice Blue uses the rear window-switch illumination; Multicolor requires wiring from the front footwell lamps through the cabin into the rear doors. Wiring choices do not change the package price.
Yes. Confirm your steering wheel side so the dashboard is matched correctly. Without illuminated handles, if the driver’s handle has a lock/unlock button, the driver-side door harness also differs between LHD and RHD.
No. This package contains the five illuminated decorative trims. Existing matching handle lighting can supply the door trims; otherwise the selected alternative harnesses are included. Multicolor dashboard and cabin-routed rear wiring use the existing front footwell lamps.
Watch how a fully upgraded interior comes together.