01
Genuine Ford decorative panels
Original Ford panels provide a precise fit and a finish that belongs in your interior.


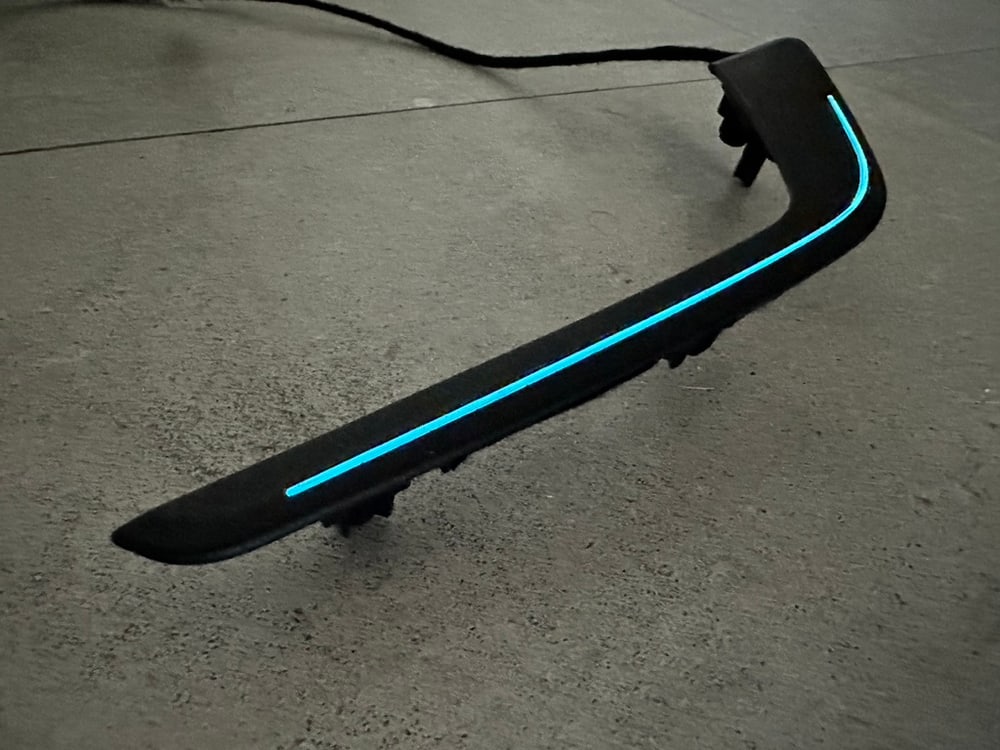
The set of genuine Ford door trim for rear doors equipped with integrated ambient LED lighting for a seamless factory-style upgrade. Includes dedicated Plug & Play wiring harnesses for quick installation without modifying your vehicle. No drilling, cutting, soldering, or adhesive mounting required. A refined OEM+ enhancement that elevates the cabin to a premium level.
This ambient light set includes:
Choose the correct package for your Focus based on your ambient light system (single or multi-color)
Our products are built using genuine Ford trim components. Delivery times depend on Ford parts availability and may take up to 3 weeks, although most orders are completed sooner.
From €137,00 EUR
Factory style by day. Coordinated ambient lighting after dark.
Made for your Ford Focus MK4 / MK4.5
Made for your Ford Focus MK4
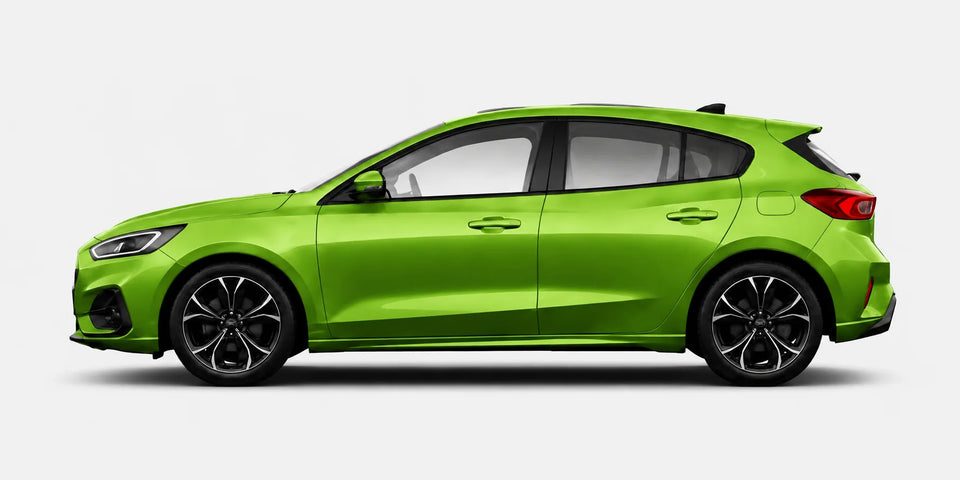
Select your lighting setup and tell us whether your rear handles already have FlickOn lighting. We will match the wiring to your configuration.
Focus MK4 / MK4.5 with factory Ice Blue ambient lighting. Works with or without existing FlickOn Ice Blue rear handle lighting.
Focus MK4 with factory Multicolor ambient lighting and SYNC color selection. MK4.5 is not compatible with Multicolor.
Existing matching FlickOn rear handle lights supply the trims through short Y-splitter harnesses.
No rear handle lighting is required. Each trim is powered from the illumination of its rear window switch.
Without FlickOn Multicolor rear handle lighting, each trim is powered from the front footwell lamp on the same side. Wiring must be routed through the cabin and into the rear door.
Two rear trims. Wiring matched to your car.
Select your lighting setup and rear handle lighting to see the included wiring.
The selected wiring is included in the kit price.
The route depends on the lighting already in your rear doors.
Estimated time is for one rear door. Repeat the installation on the other side.
Tell us whether your rear door handles are illuminated.
Remove the door panel
Remove the rear door card and disconnect the handle lighting.
Replace the decorative trim
Undo the screws shared by the handle and trim. Fit the illuminated trim and reinstall the handle.
Caution: Fit the washers to protect the lighting cable inside the trim. Tighten the screws gently by hand — no power tools. Overtightening can strip the plastic threads or break the mounting points.
Connect the short harness
Connect the supplied Y-splitter to the existing handle lighting, powering both the handle and new trim.
Test and refit
Secure the wiring, check the lighting and refit the door panel.
Remove the door panel
Remove the rear door card to access the trim and wiring.
Replace the decorative trim
Undo the screws shared by the handle and trim. Fit the illuminated trim and reinstall the handle.
Caution: Fit the washers to protect the lighting cable inside the trim. Tighten the screws gently by hand — no power tools. Overtightening can strip the plastic threads or break the mounting points.
Connect at the window switch
Connect the supplied harness to the rear window-switch illumination. The same method applies to both rear doors.
Test and refit
Secure the wiring to prevent movement or rattles, check the lighting and refit the door panel.
Replace the decorative trim
Remove the rear door card, undo the shared handle/trim screws and fit the illuminated trim.
Caution: Fit the washers to protect the lighting cable inside the trim. Tighten the screws gently by hand — no power tools. Overtightening can strip the plastic threads or break the mounting points.
Access the wiring route
Disconnect and remove the speaker using its three screws. Move the front seat fully forward, move the seat belt clear and remove the B-pillar cover.
Route the cable into the cabin
Release the rubber door-to-body connector. Use a nylon pull-through to guide the cable through its unused channel. Pass the door-side lead through the additional rubber wiring grommet to the door-panel side.
Connect at the front footwell
Route the cable beneath the sill trim to the front footwell lamp on the same side. Fit the supplied Plug & Play Y-splitter, keeping the lamp connected.
Secure and test
Secure the cable along its route, connect the rear trim and check the lighting before reassembly.
Refit the removed parts
Reseat the rubber connectors and grommets, reconnect and refit the speaker, then reinstall the B-pillar cover, sill trim and rear door panel.
Genuine Ford trim. Dedicated wiring. Factory lighting integration.
Original Ford panels provide a precise fit and a finish that belongs in your interior.
Purpose-built wiring and matching connectors provide a straightforward connection to your car’s original installation.
The Ice Blue version matches the shade of your existing factory ambient lighting.
The Multicolor version follows the factory SYNC settings, controlled alongside the other ambient lighting in your Focus.
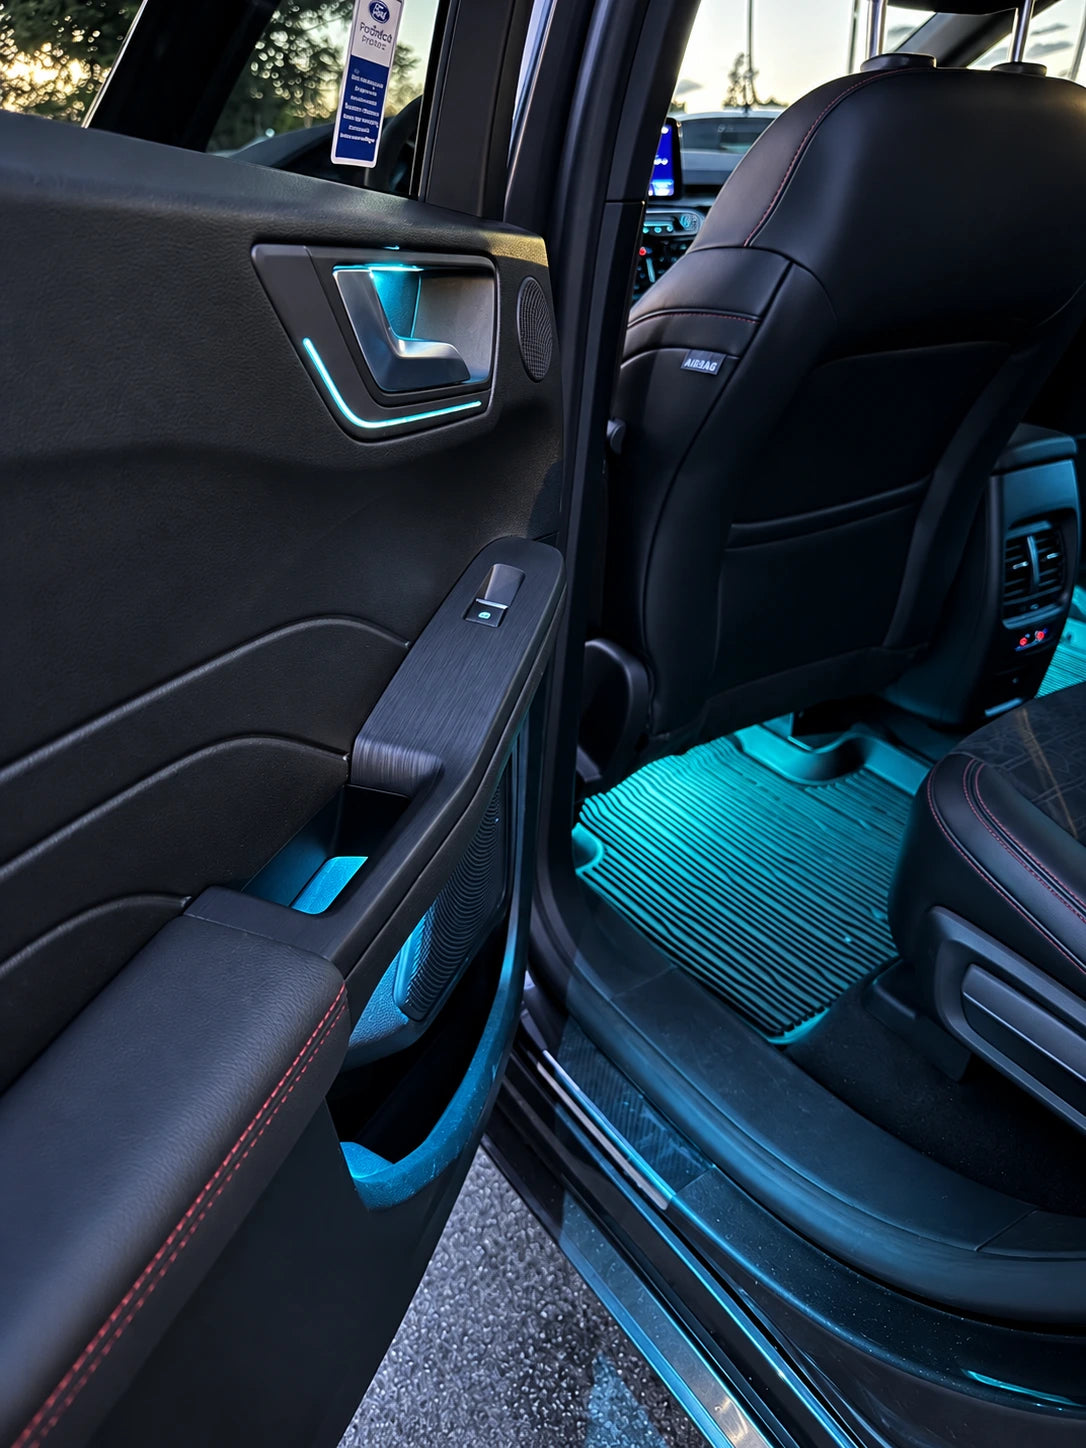
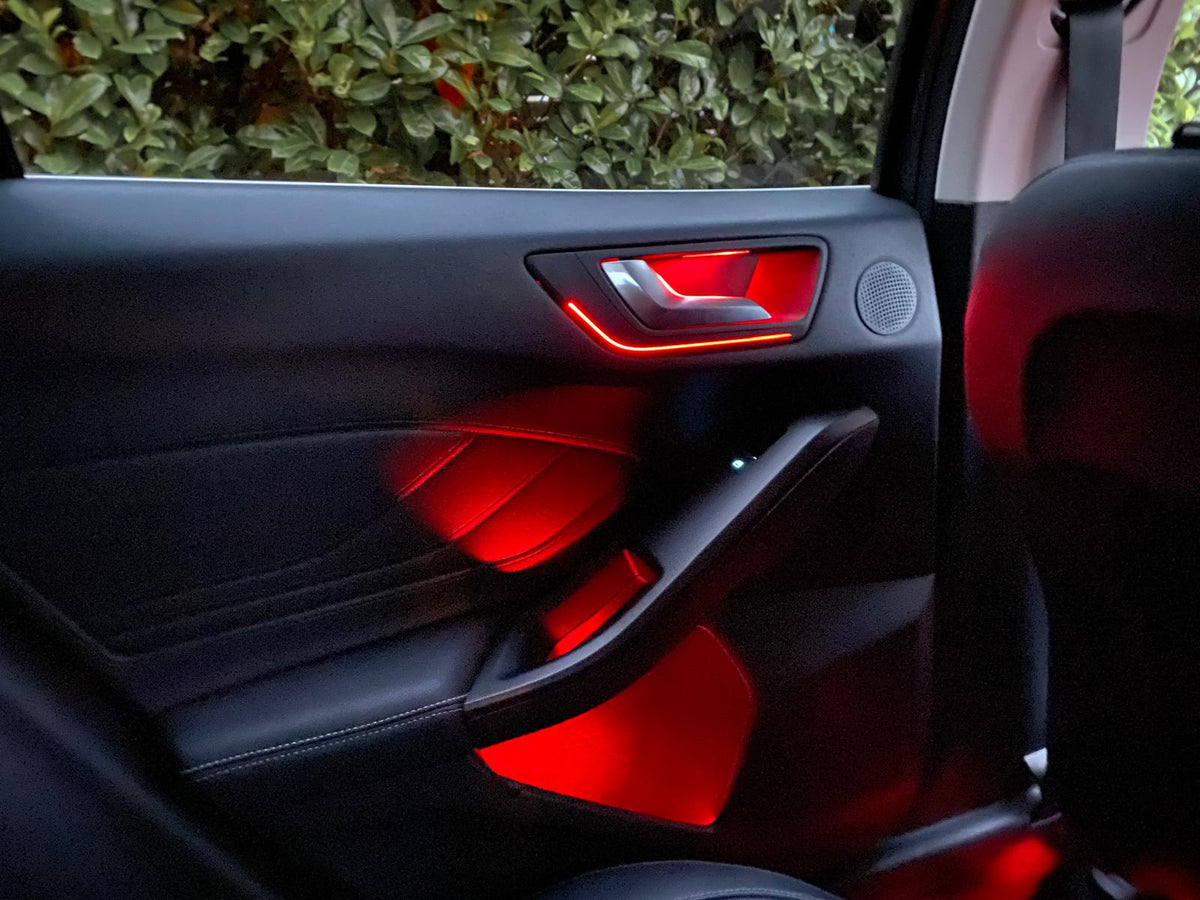
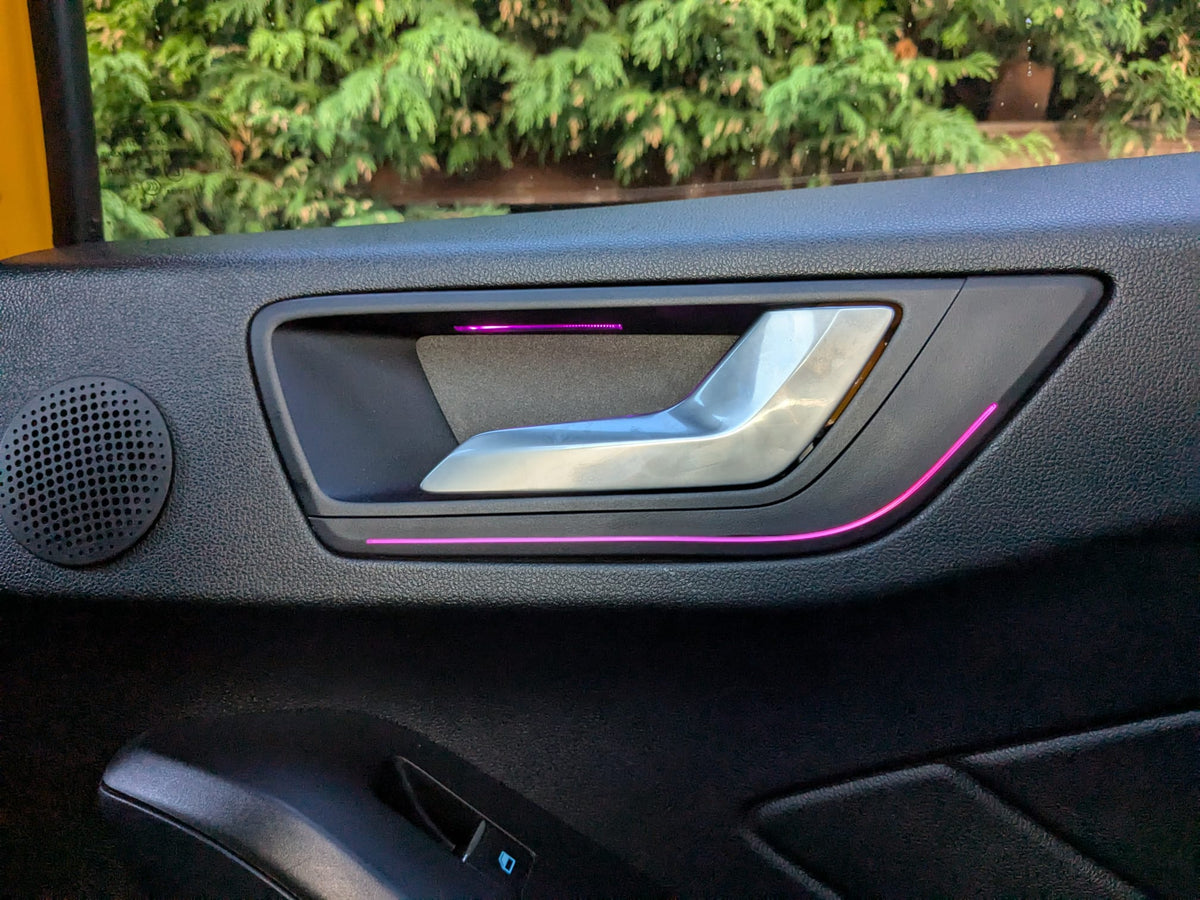
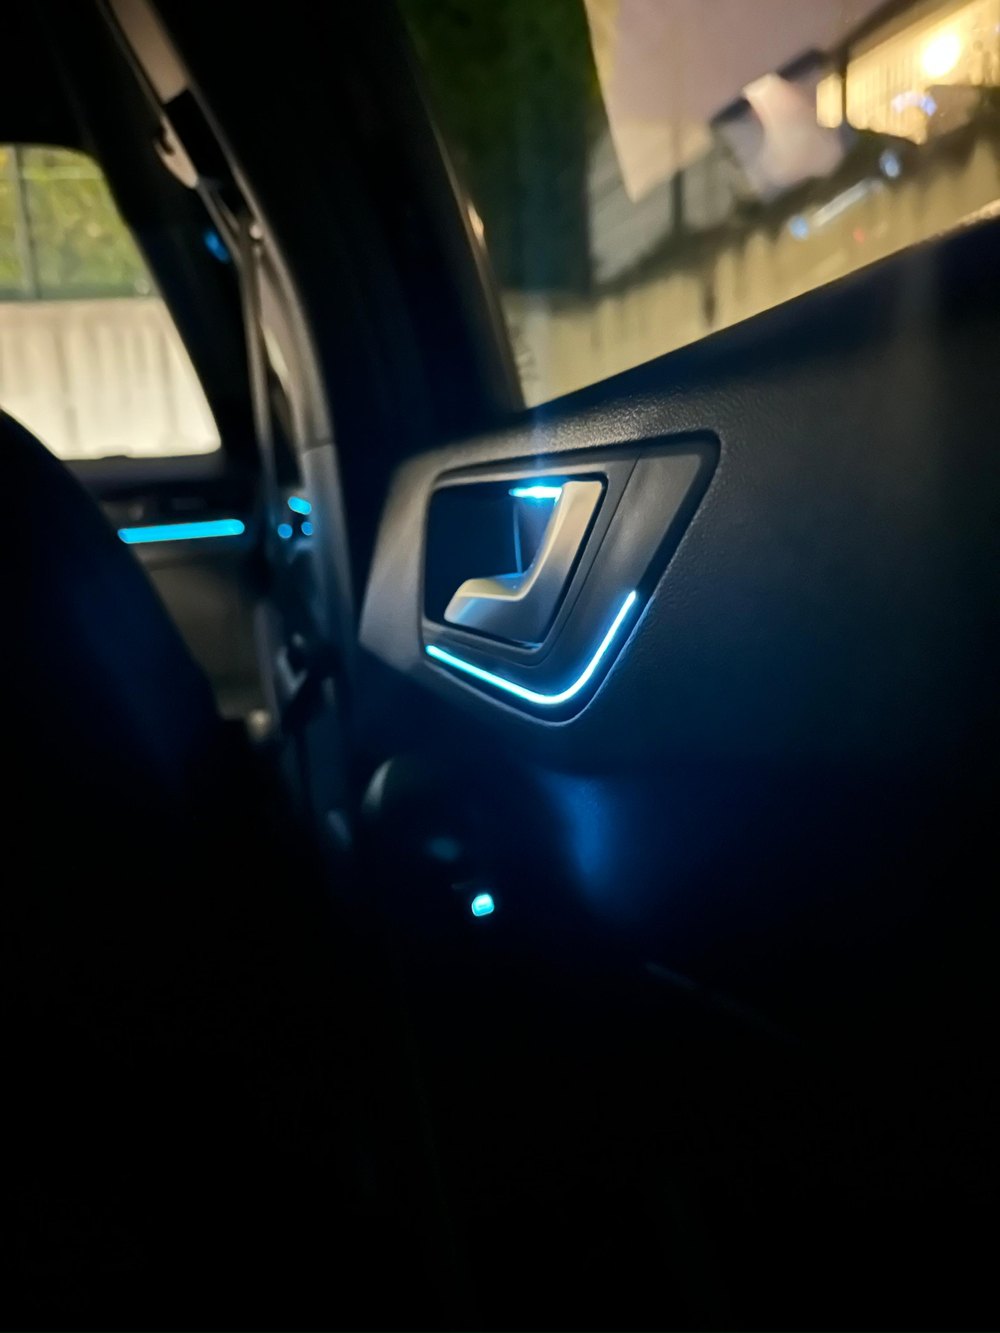
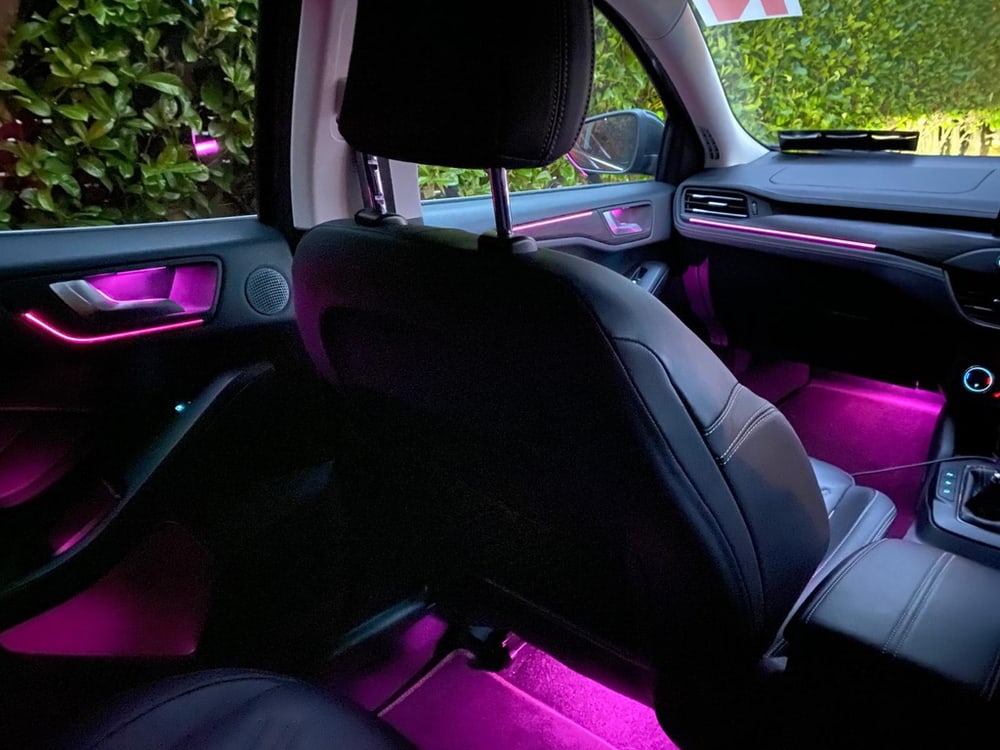
Real FlickOn upgrades installed in customer cars.
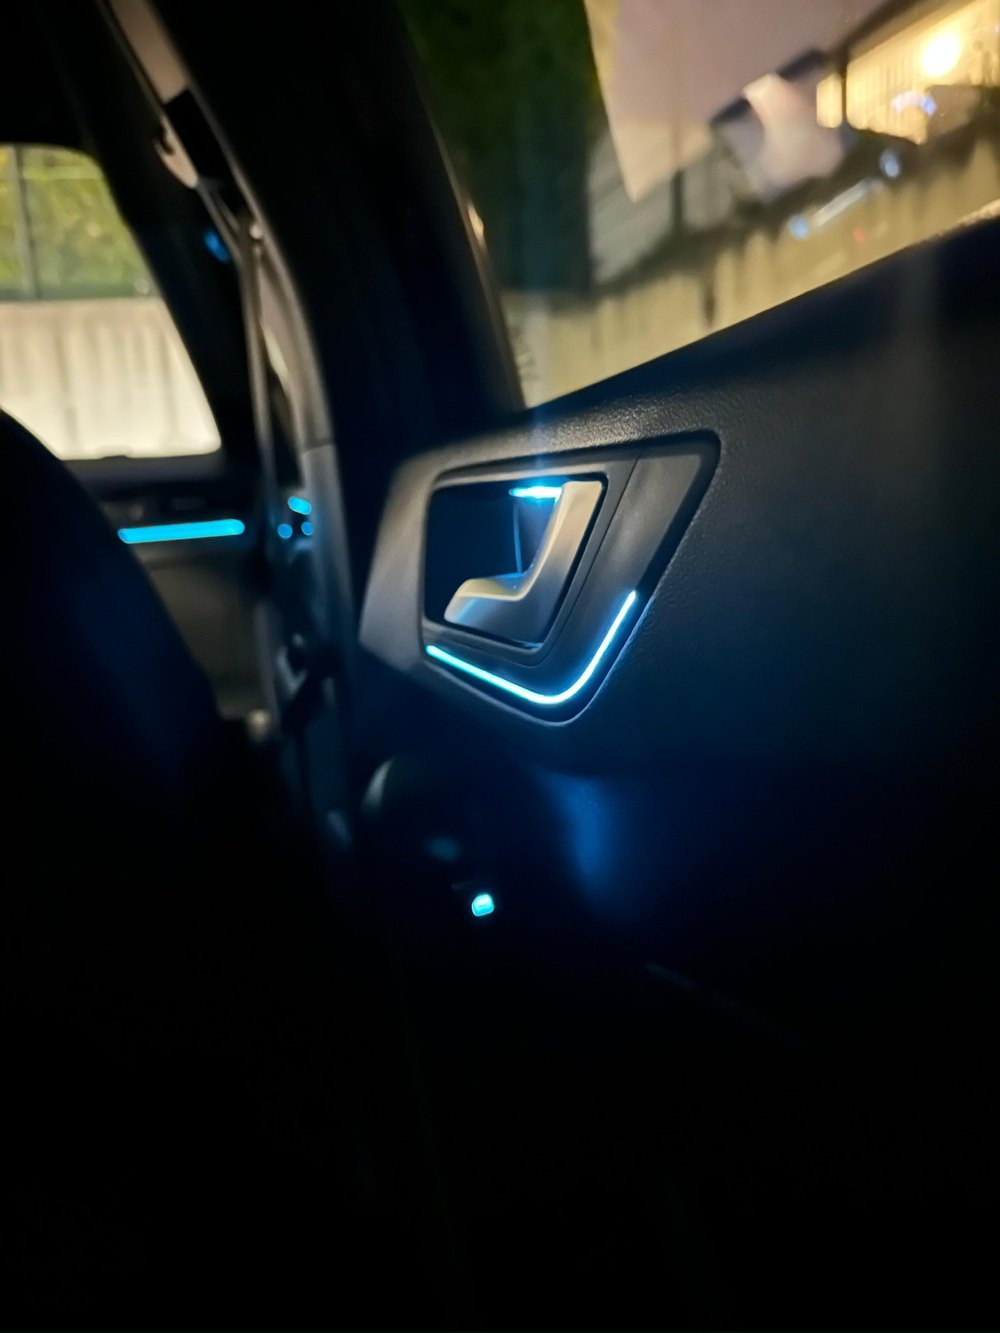
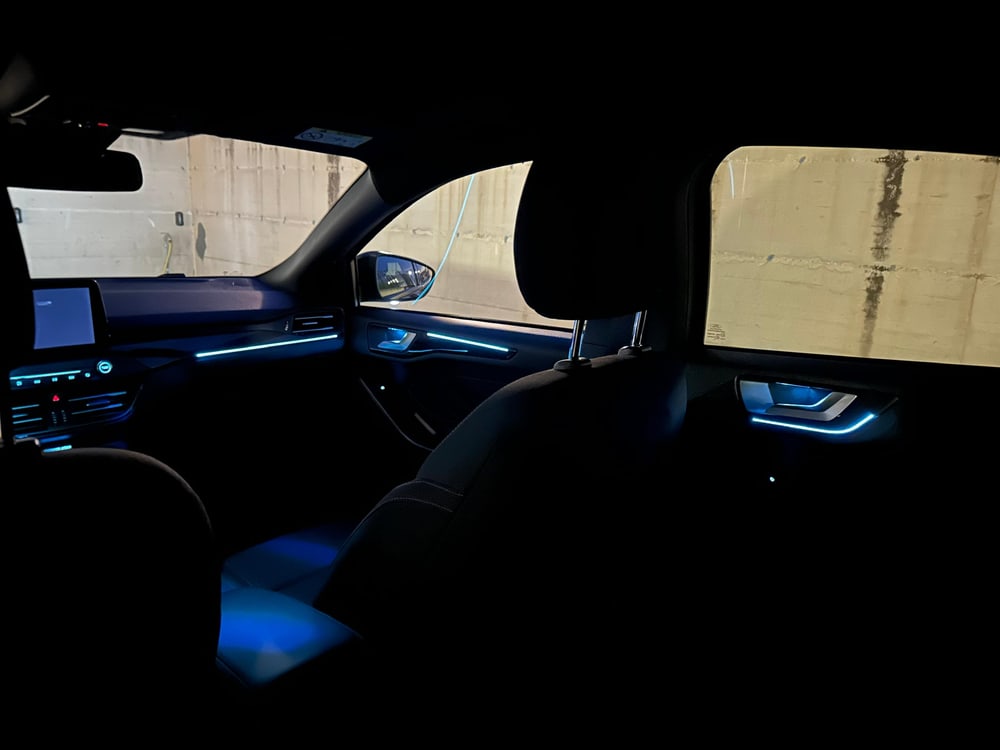

No. Choose the matching answer in the configurator. Ice Blue can use the rear window-switch illumination; Multicolor without illuminated rear handles uses wiring from the front footwell lamps.
No. Multicolor is for Focus MK4 with the factory Multicolor system and SYNC color control. Ice Blue fits MK4 and MK4.5.
No. The wiring matched to your configuration is included. The price differs between Ice Blue and Multicolor.
Yes. Rear Door Trims use the same configuration for LHD and RHD cars.
No coding or drilling is required. The trim replaces the original panel using its existing mounting points. Door-card removal is required in every configuration.
No. The displayed estimate is per door: 25–30 minutes with illuminated handles, around 35 minutes for standalone Ice Blue, or around 60 minutes for Multicolor wiring from the cabin.
Watch how a fully upgraded interior comes together.